Sydney Sixers Cricket Team Pictures
Sydney Sixers had ample support in a home final••Cricket Australia/Getty Images

Jack Edwards makes his way out for the chase••Cricket Australia/Getty Images
Sean Abbott picked up 4 for 32••Cricket Australia/Getty Images
Josh Brown worked his way through a scrappy start••Cricket Australia/Getty Images
The BBL trophy in all its glory ahead of the final••Cricket Australia/Getty Images
Nathan McSweeney and Moises Henriques pose with the BBL trophy ahead of the final••Getty Images
Ben Dwarshuis was named Player of the Match for his five-wicket haul••Cricket Australia via Getty Images
Moises Henriques leads Sixers off the field after securing their place in the final••Getty Images
Ben Dwarshuis picked up the first wicket of the innings••Getty Images
Moises Henriques kept the Sixers innings in order••Getty Images
Josh Philippe was steady at the start••Getty Images
Michael Neser got Daniel Hughes in the first over of the chase••Cricket Australia/Getty Images
Steve O'Keefe celebrates the key wicket of Josh Brown••Cricket Australia/Getty Images
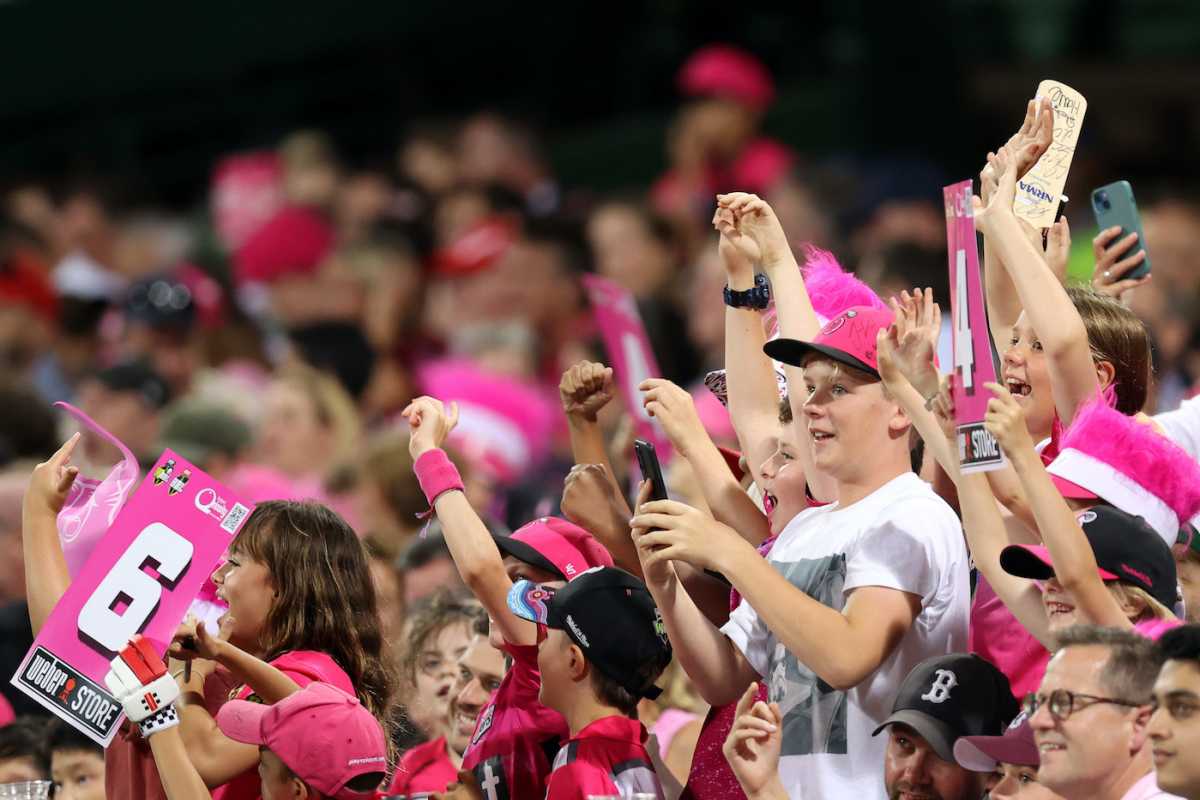
Sydney Sixers fans are ready for the final••Cricket Australia/Getty Images
Sydney Sixers make their way out for the final••Cricket Australia/Getty Images
Ben Dwarshuis finished off the match with his career-best T20 returns••Cricket Australia via Getty Images
Jack Edwards made crucial contributions with bat and ball••Getty Images
Ben Dwarshuis hit Michael Neser's stumps via the bat and then the pads••Cricket Australia via Getty Images
Heyden Kerr removed Jimmy Peirson••Getty Images
Moises Henriques picked up speed after a slow start••Getty Images
Top Run Scorers
In last one year257
Innings: 10Average: 32.12
257
Innings: 11Average: 23.36
244
Innings: 9Average: 30.50
Top Wicket Takers
In last one year17
Innings: 11Average: 16.70
11
Innings: 11Average: 26.00
11
Innings: 9Average: 27.72
Terms of Use|Privacy Policy|Your US State Privacy Rights|Children's Online Privacy Policy|Interest - Based Ads|Do Not Sell or Share My Personal Information|Feedback
© 2024 ESPN Sports Media Ltd. All rights reserved